


How to Decorate Your Christmas Tree
A step by step pictorial guide on how to decorate your Christmas tree. For those who do not like to read, check out this comprehensive video below:
Step 1: Putting on the Lights
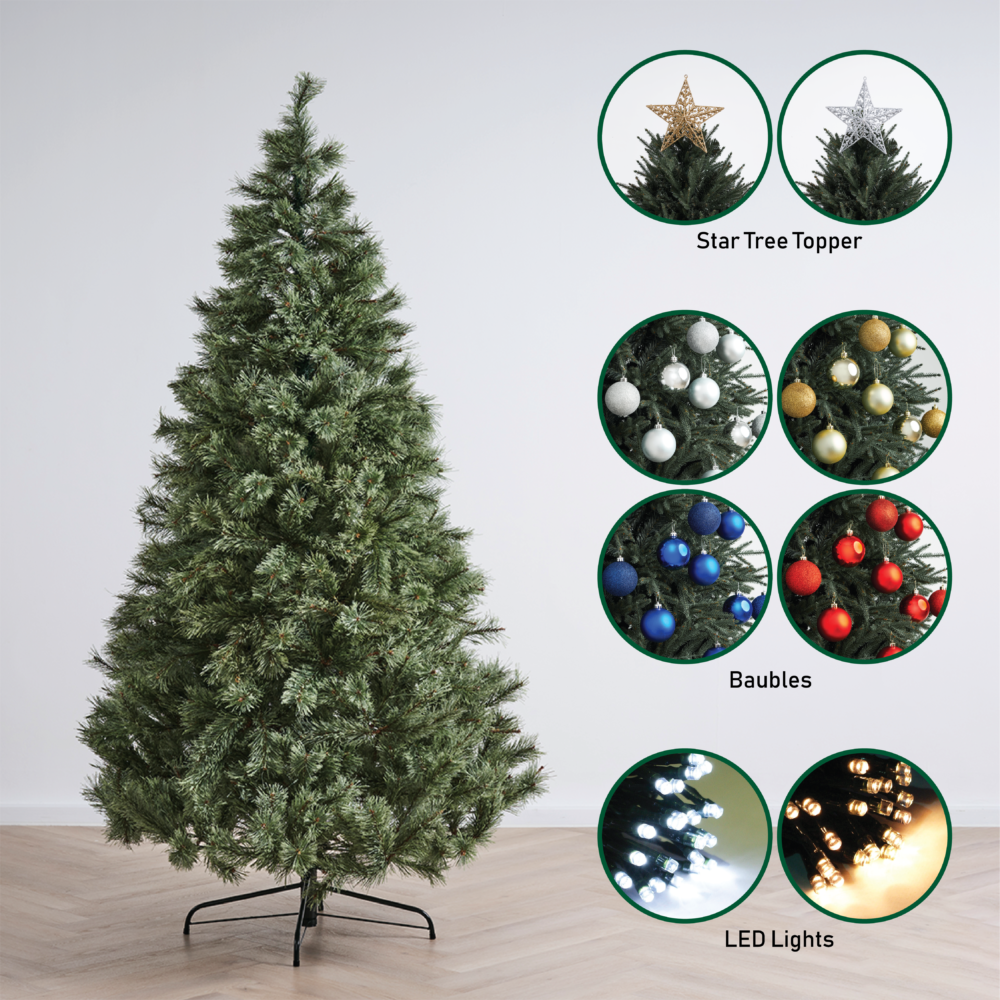
Christmas Tree LED String Lighting from Masons Home Decor are 10 metres per cable (set).
We have lights in Pure White, Warm White, Multi-Colour. Choose a colour that best suits your desired tree theme. Pure White Lights will be used in this example because our tree is having decorations of a cool theme. Warm White Lights should be used for warm theme ornaments such as gold, brown, maroon, and so on. We have a video guide below, and a picture step by step guide after.
Here is the best gauge of how many lights you need:
- 5 foot Christmas tree: 1 set
- 6 foot Christmas tree: 2 sets
- 7 foot Christmas tree: 3 sets
- 8 foot Christmas tree: 4 sets
- 10 foot Christmas tree: 6 sets
- 12 foot Christmas tree: 8 sets
With the above recommendation, you will have enough lights to be coiled around the surface of the tree, with each bulb being approximately 10 cm from each other. Feel free to add more lights if you wish for more density, or to have an effect of depth whereby some light cables are shoved deeper into the tree.

Coiling the Lights Around the Tree
Start by connecting the LED lights into your power source and keep it turned off for safety purposes. From the bottom, start coiling till you reach the top.

Extending Your Cable of Lights
Each set of string lights comes with a connectable plug that allows you to connect one set of string lights to another for a longer length of lights. Should you require a longer length, for example, 30 metres, simply connect 3 sets together.

Concealing of Wires
For a neater tree, conceal the string lights in the branches after you have coiled the lights around the entire tree from bottom to top. This is especially important for families with pets or young children. We wouldn’t want them to trip on stray light strings!
Step 2: Putting on Christmas Tree Baubles
Baubles are typically balls (but can be in any other shape or form such as a snowflake) with loops.

Start with Main/Base Baubles
Main baubles, or base baubles, refer to baubles that are homogenous in design and colour. In this example, the base colours would be silver and blue. Hang them around the tree while ensuring they are evenly spread out. Leave space for other decorative items later on.
The first image below shows how the tree should look when you are done hanging your base baubles.
Then it shows how it should look after you include accent baubles into whatever available space left.

Step 3: Inserting Tree Picks or Sprays
Christmas tree picks and sprays are ornaments that you can stick into, or shove into your Christmas tree.
Pick a few designs. One is fine. We feel that more is merrier, so we usually select 3 to 4 types of tree picks of the same colour theme as the baubles.


Step 4: Putting on the Star
Bear in mind that we never ever want the base (or hoop) of the star to be visible. Place the star at the very top, resting it on the branches of the tree. Shift the branches a little to hide the stand. The star should look like it is resting there. You may use a metal wire or cable tie to permanently attach the star to the top of the tree. Children may shake the tree, and you don’t want to risk the sharp points of the star falling directly on their head or face.
Check out the video below to learn how to reinforce it with a cable tie!

Step 5: Putting on the Christmas Tree Collar (Optional)
A Christmas tree collar is a decorative item that hides the iron stand of an artificial Christmas tree. It makes the tree look like it is potted.

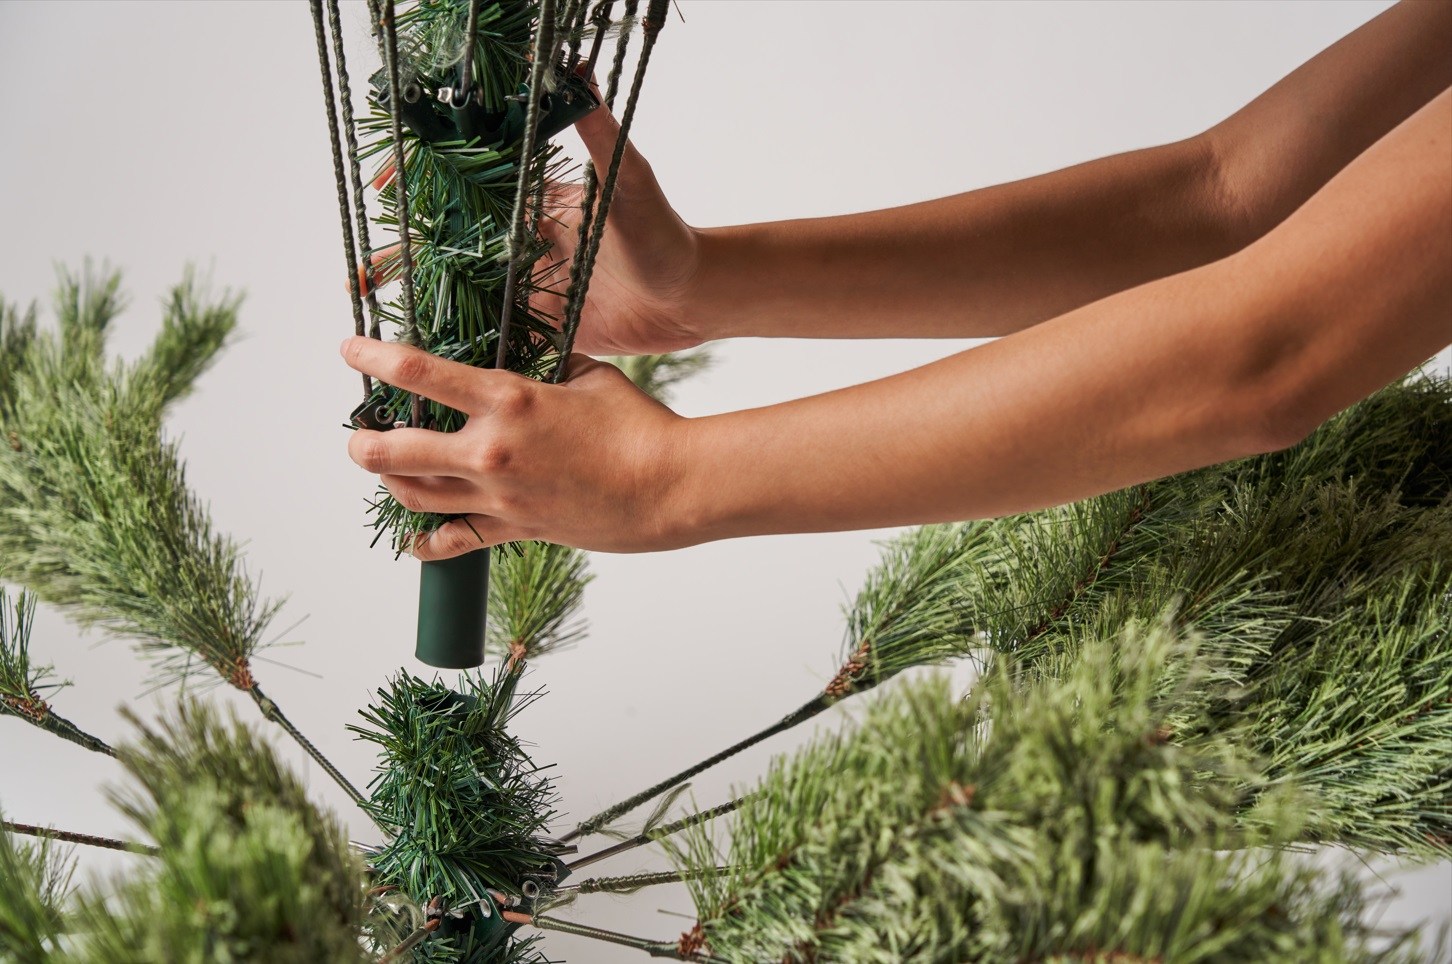
Fitting the Pieces Together
There are four parts to a collar. Simply arrange the parts around the base of the tree then hook them together. Centralise it so it will look nothing short of perfect.

And We’re Done!
You should now have a truly magical looking Christmas tree. Get ready for the compliments and selfies this Christmas. There are going to be plenty!
See also:
Premium Bundles (Ready Designed Trees)
The Ultimate Guide to Tree Decorating (Decorate Like a Pro) – tells you how much ornaments you should buy
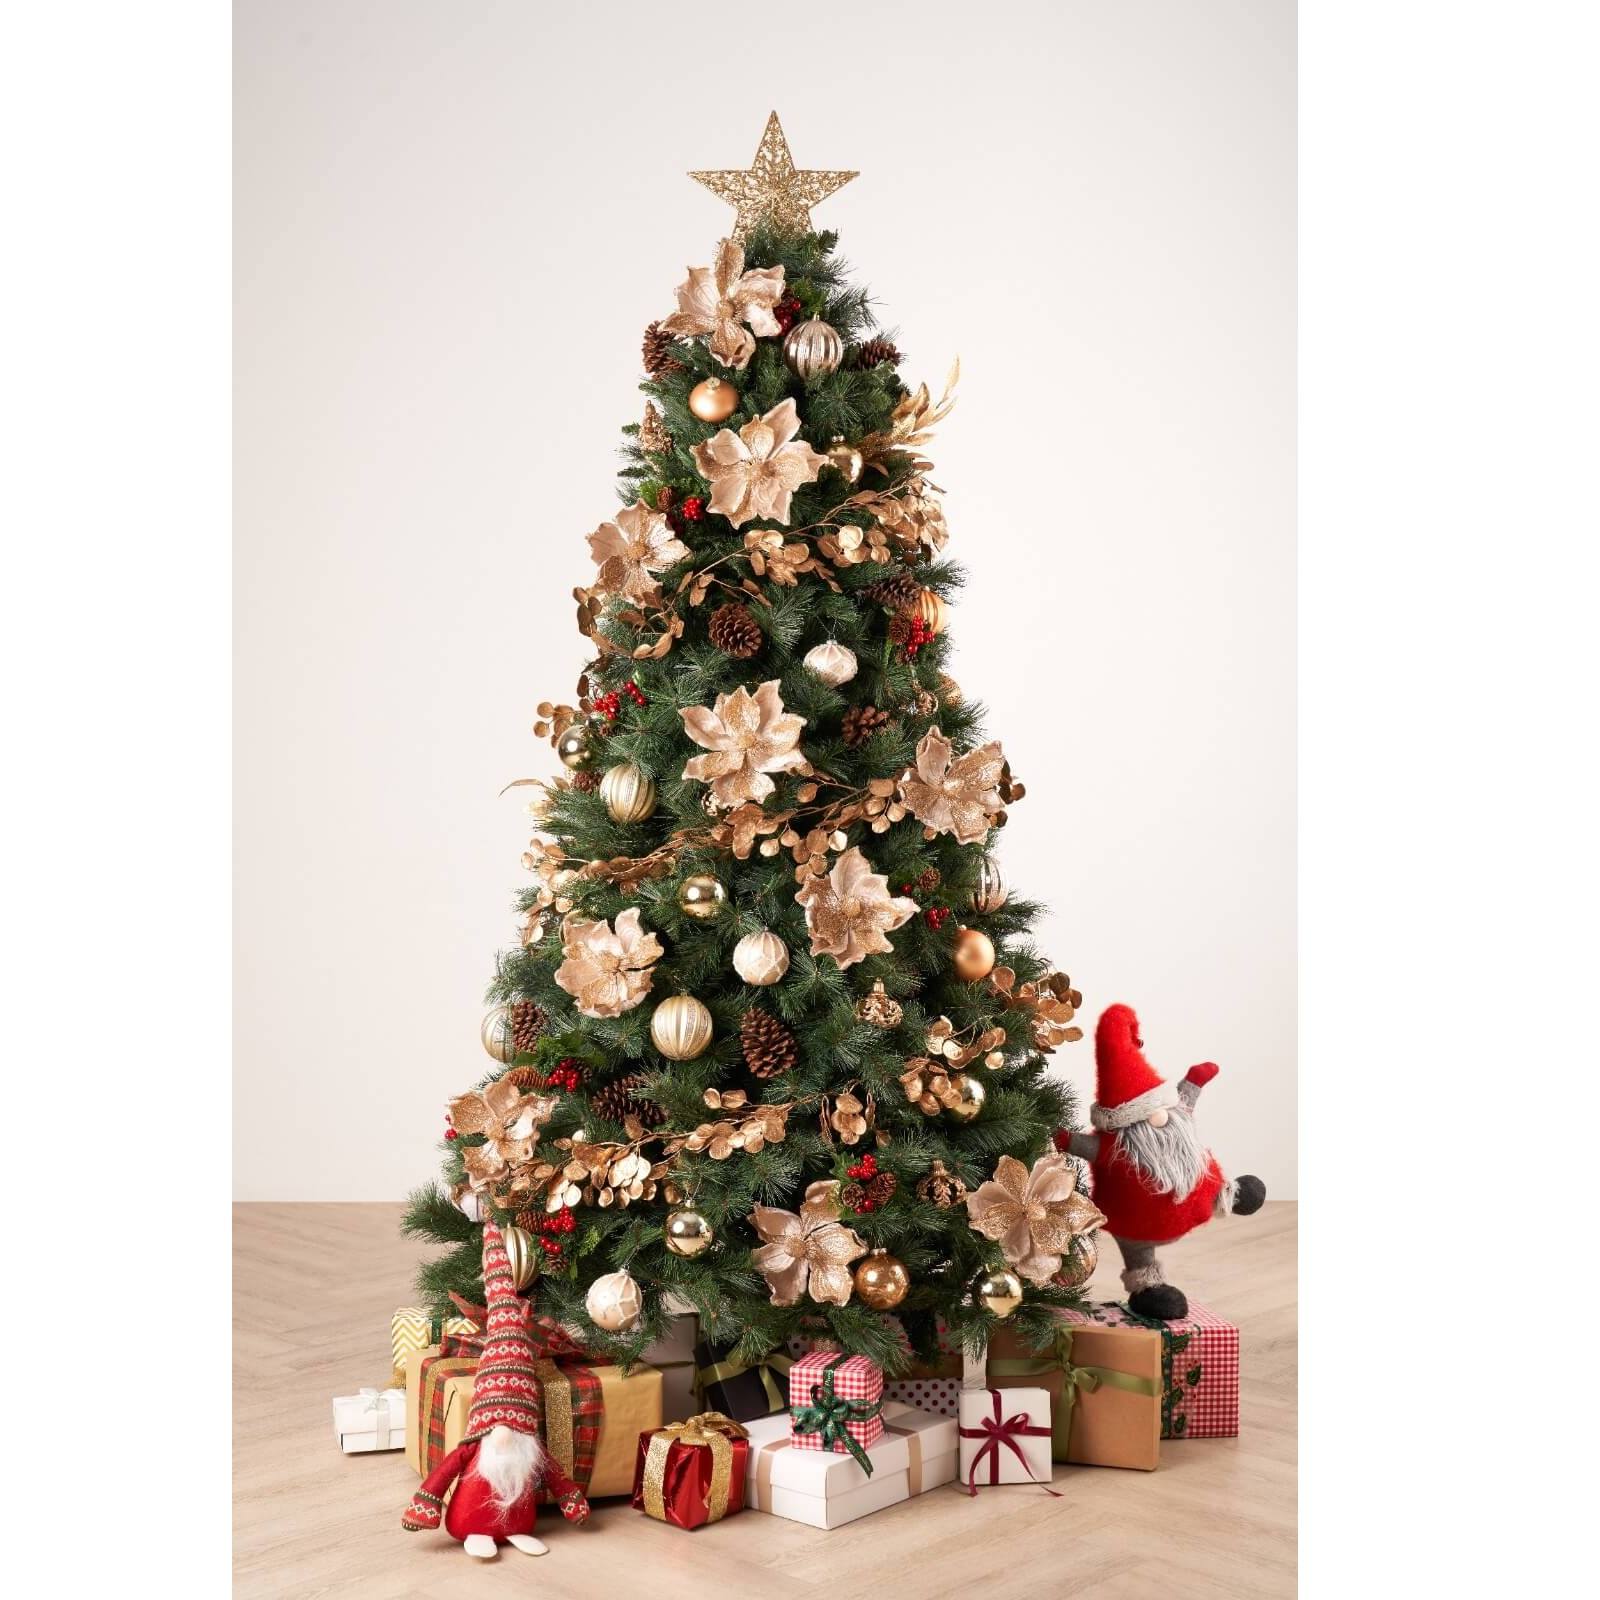
Clueless on how to decorate? Try our Premium Bundles!
Premium bundles are ormanent only product bundles, specially put together by our Award-Winning Christmas tree designers. Add a bundle to your Christmas tree purchase and have this look in the centre of your space this Christmas!
View all Premium Ornament Bundles


Champagne Gold Theme Premium Bundle


Gold Theme Premium Bundle

