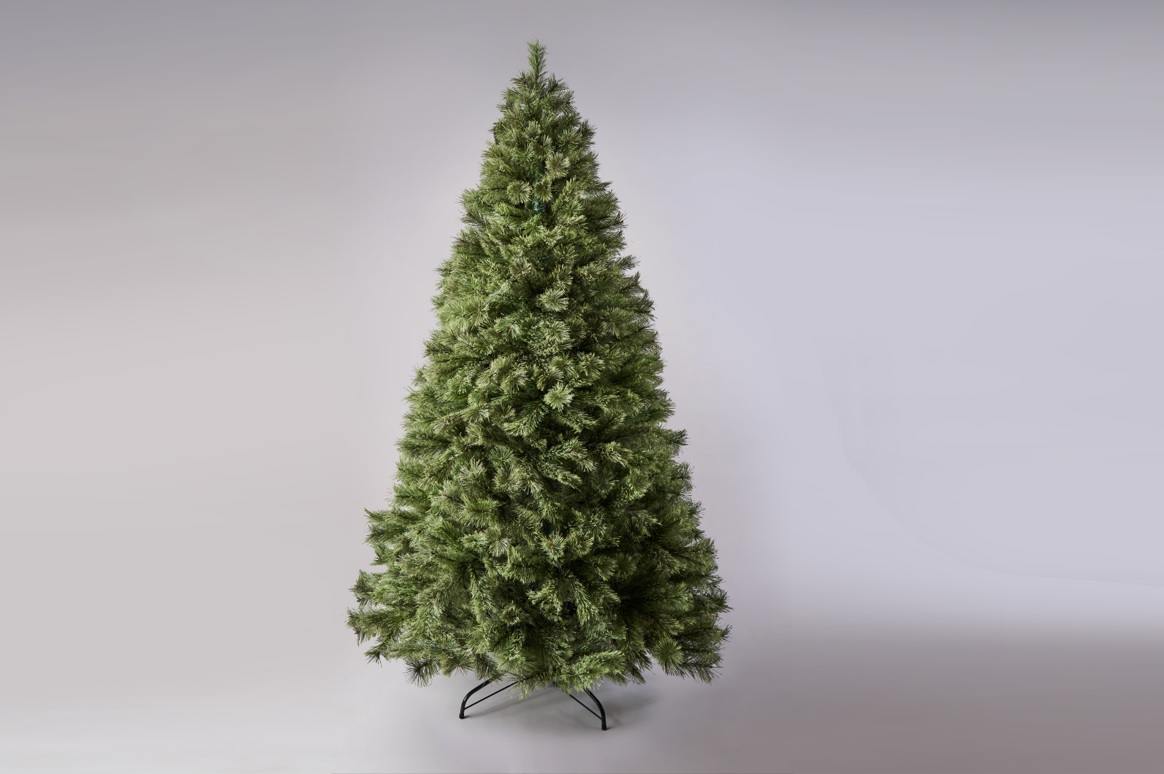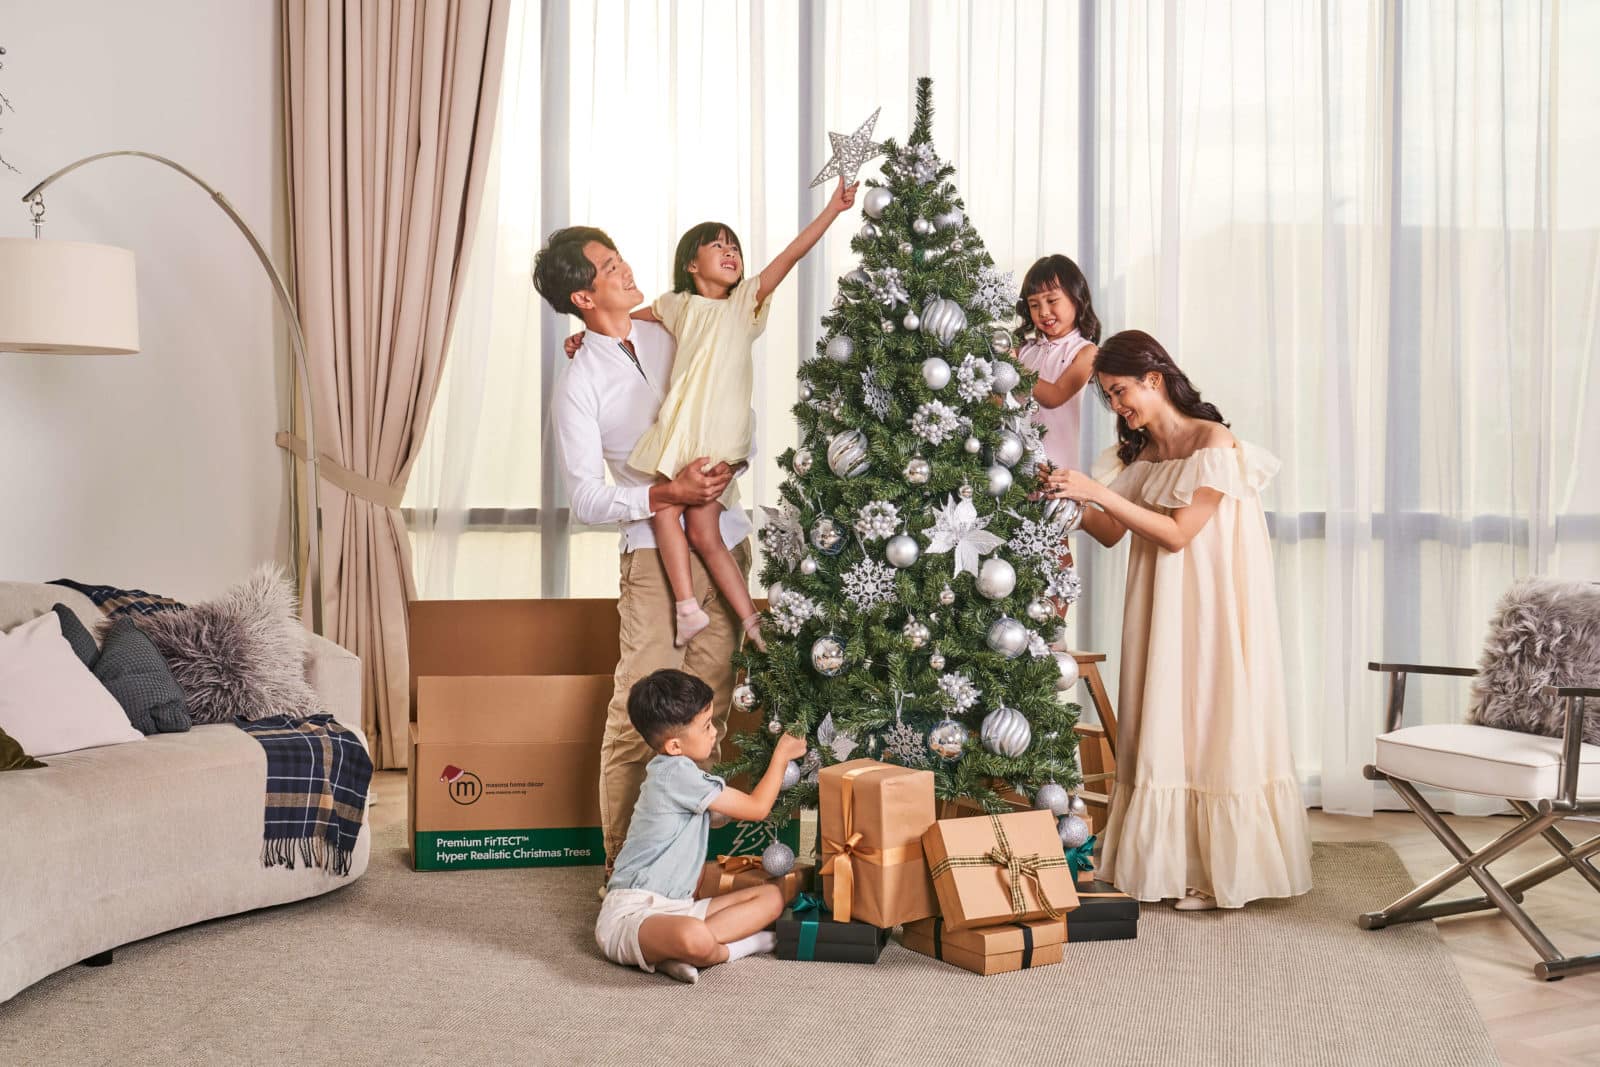
Setting Up Your Christmas Tree
If you’re looking for a stress-free festive season, artificial Christmas trees are the way to go. No watering, no needle droppings, and they’re easy to reuse every year. Whether you’re putting up a brand-new tree or taking out a beloved one from storage, this quick guide will show you how to assemble it for a beautiful centrepiece that captures the spirit of Christmas.
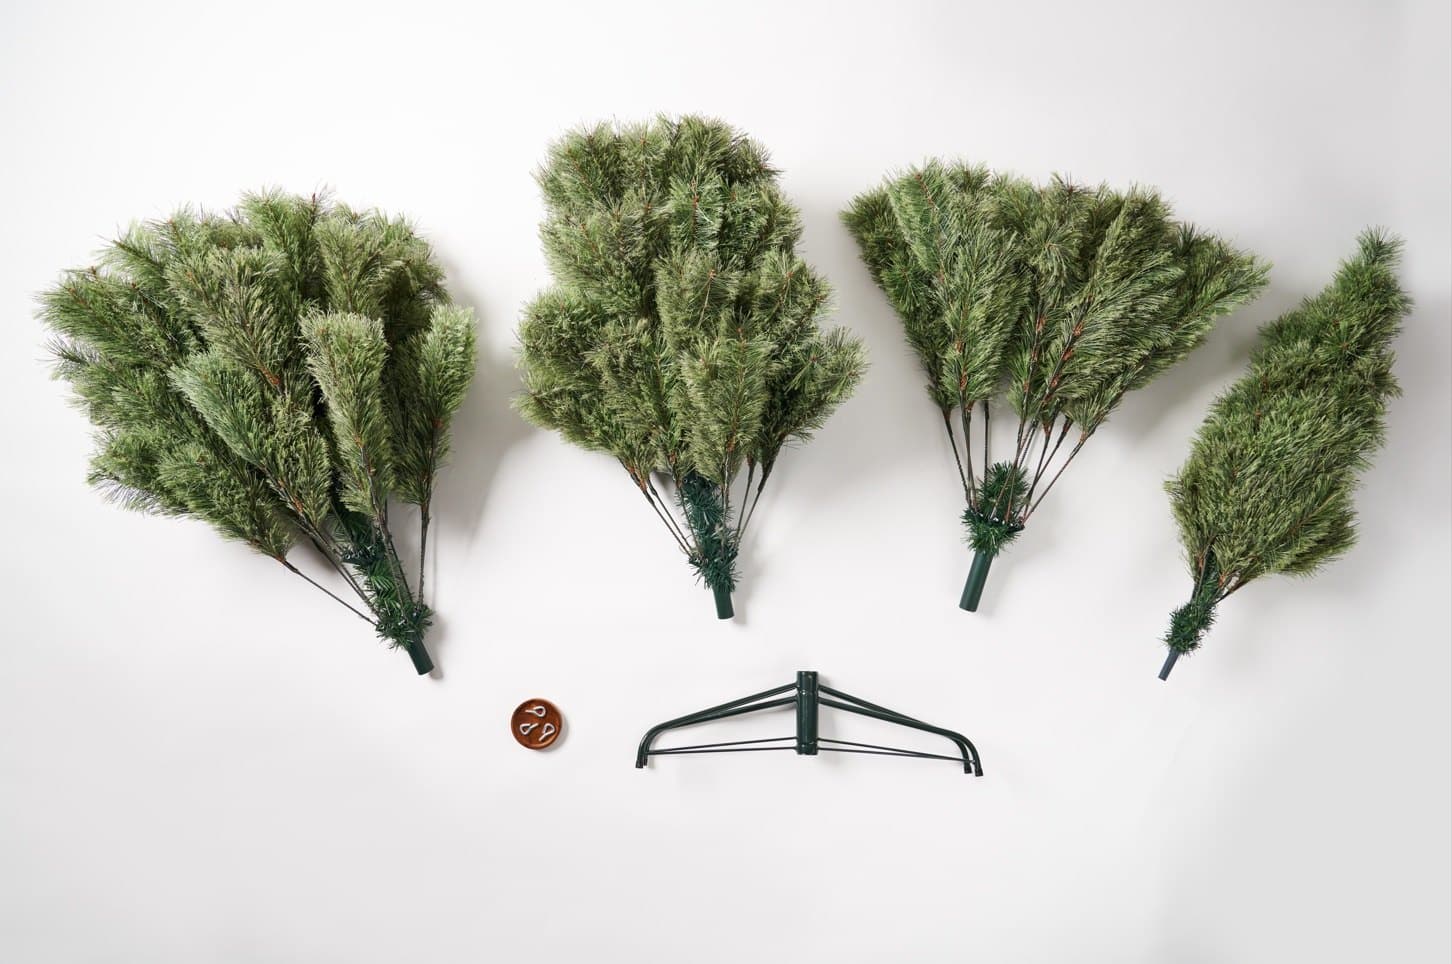
Step 1: Unpack Your Tree
Take your Christmas tree out of the box. You should have a base stand and several tree sections. The number of sections depends on the tree size:
-
5 ft trees: 2 sections and 1 metal stand (plastic stand for the Mirabella tree)
-
6 ft trees: 3 sections and 1 metal stand
-
7-8 ft trees: 4 sections and 1 metal stand
Tip: The longest section is the bottom part of the tree and fits into the stand first.
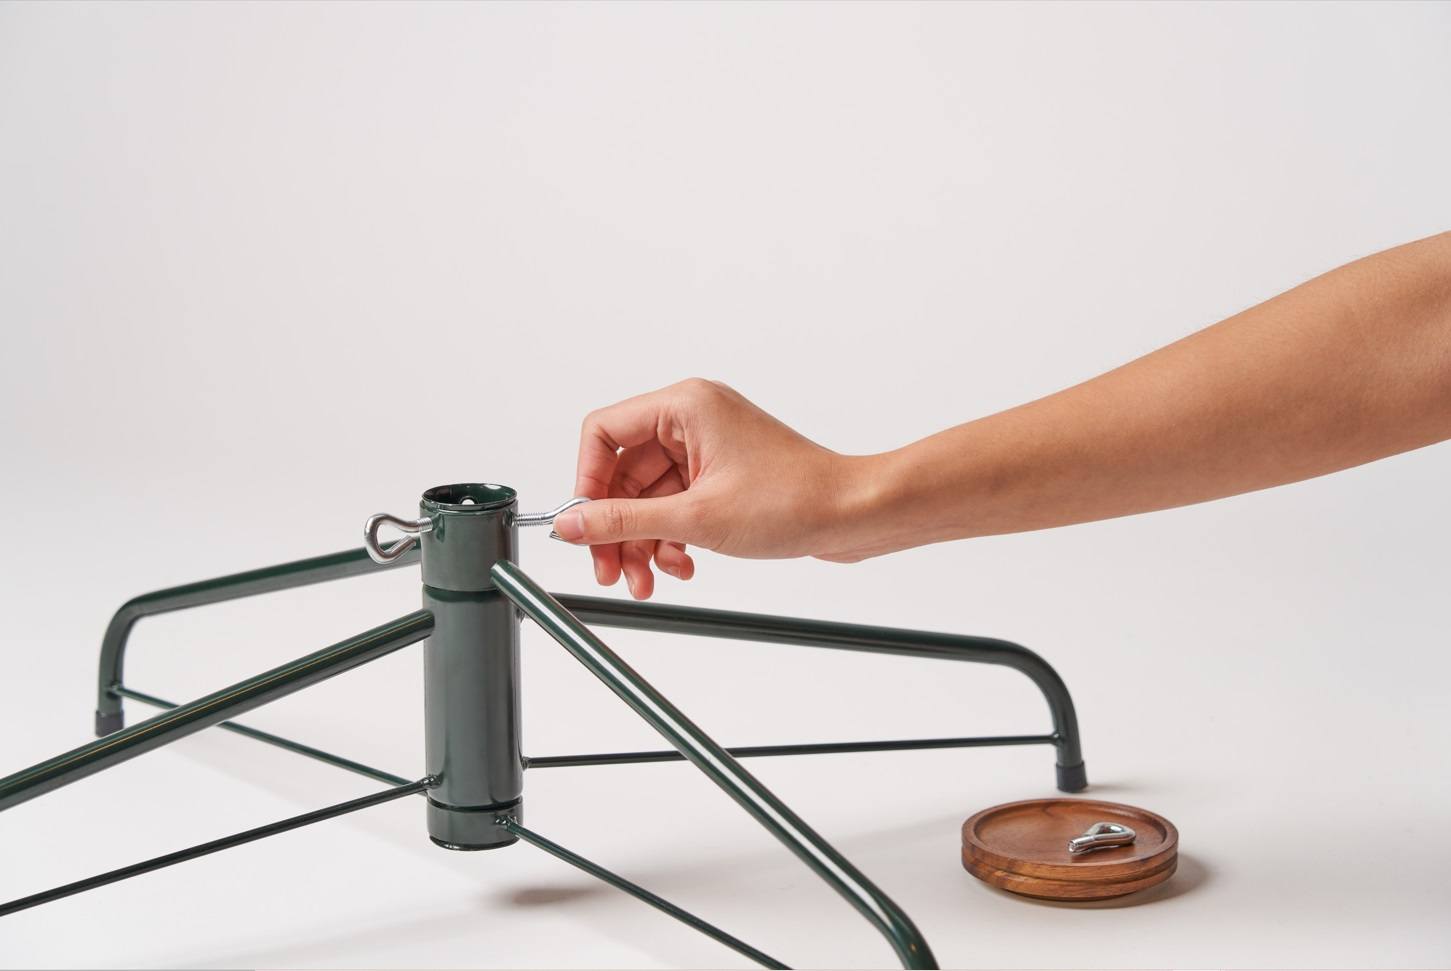
Step 2: Set Up The Base
- Open the stand so it forms a flat ‘X’ shape.
- Align the holes and insert the screw, turning it clockwise.
- Don’t tighten it all the way yet. The bottom section of the tree needs to fit into the stand first.
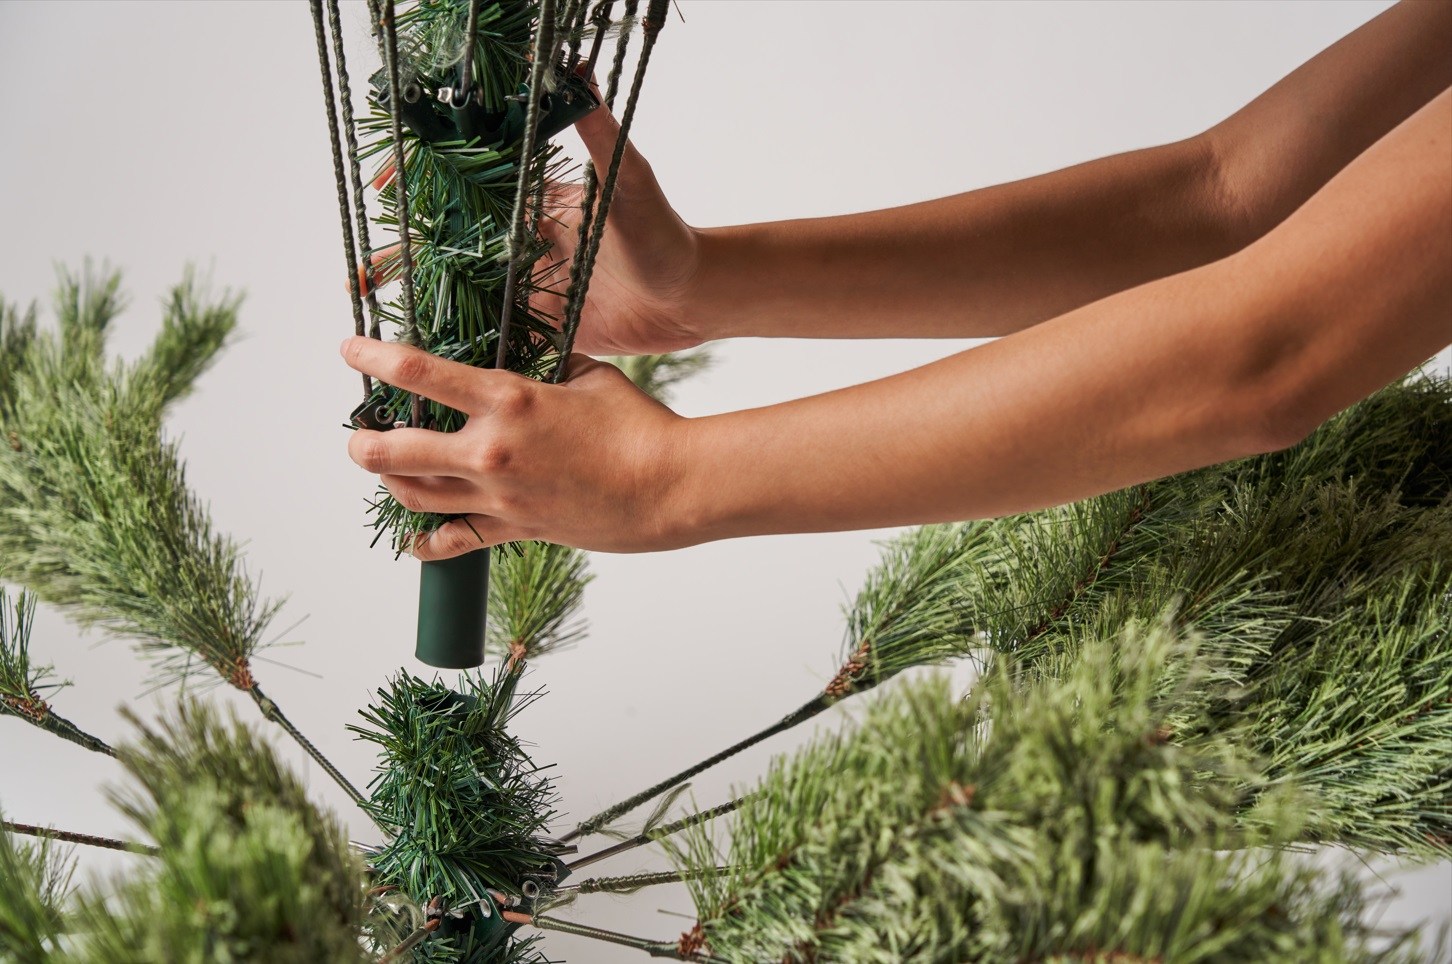
Step 3: The Bottom Section of the Tree
- Take the longest section of the tree (the bottom part) and slot it into the base stand. This section is the widest, so it will form the full base of your tree.
- Once it’s in place, tighten the screws on the stand to make sure the tree is stable.
Tip: All Mason’s artificial Christmas trees feature hinged branches, which open automatically once the section is upright, like an umbrella. It’s a handy feature that makes setup quicker. Plus, it reduces wear, helping the branches stay strong and maintain their shape for years to come!

Step 4: The Middle Section of the Tree
-
Attach the remaining sections, starting with the one above the base.
-
The smallest section, or “head,” fits into the square opening at the top of the previous section.
-
The hinged branches will naturally fall into place as you go.
-
Once all sections are connected, the tree should have a complete, even shape.
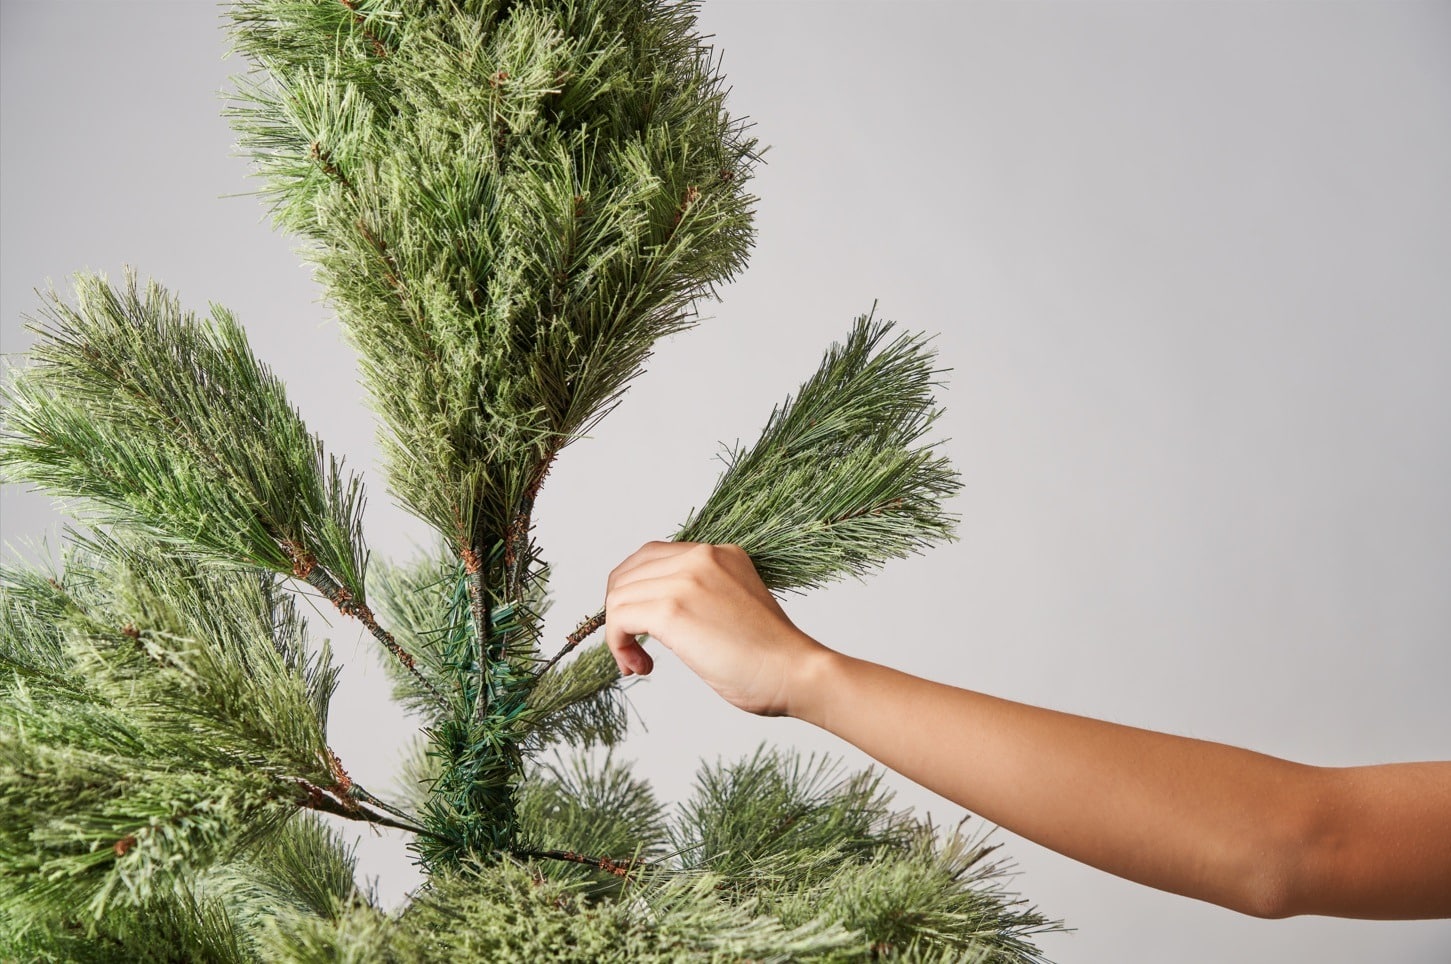
Step 5: Shaping The Head
- The top section of the tree is the smallest, so it doesn’t have hinged branches.
- Gently pull out the branches until the top forms a full, even triangular shape.
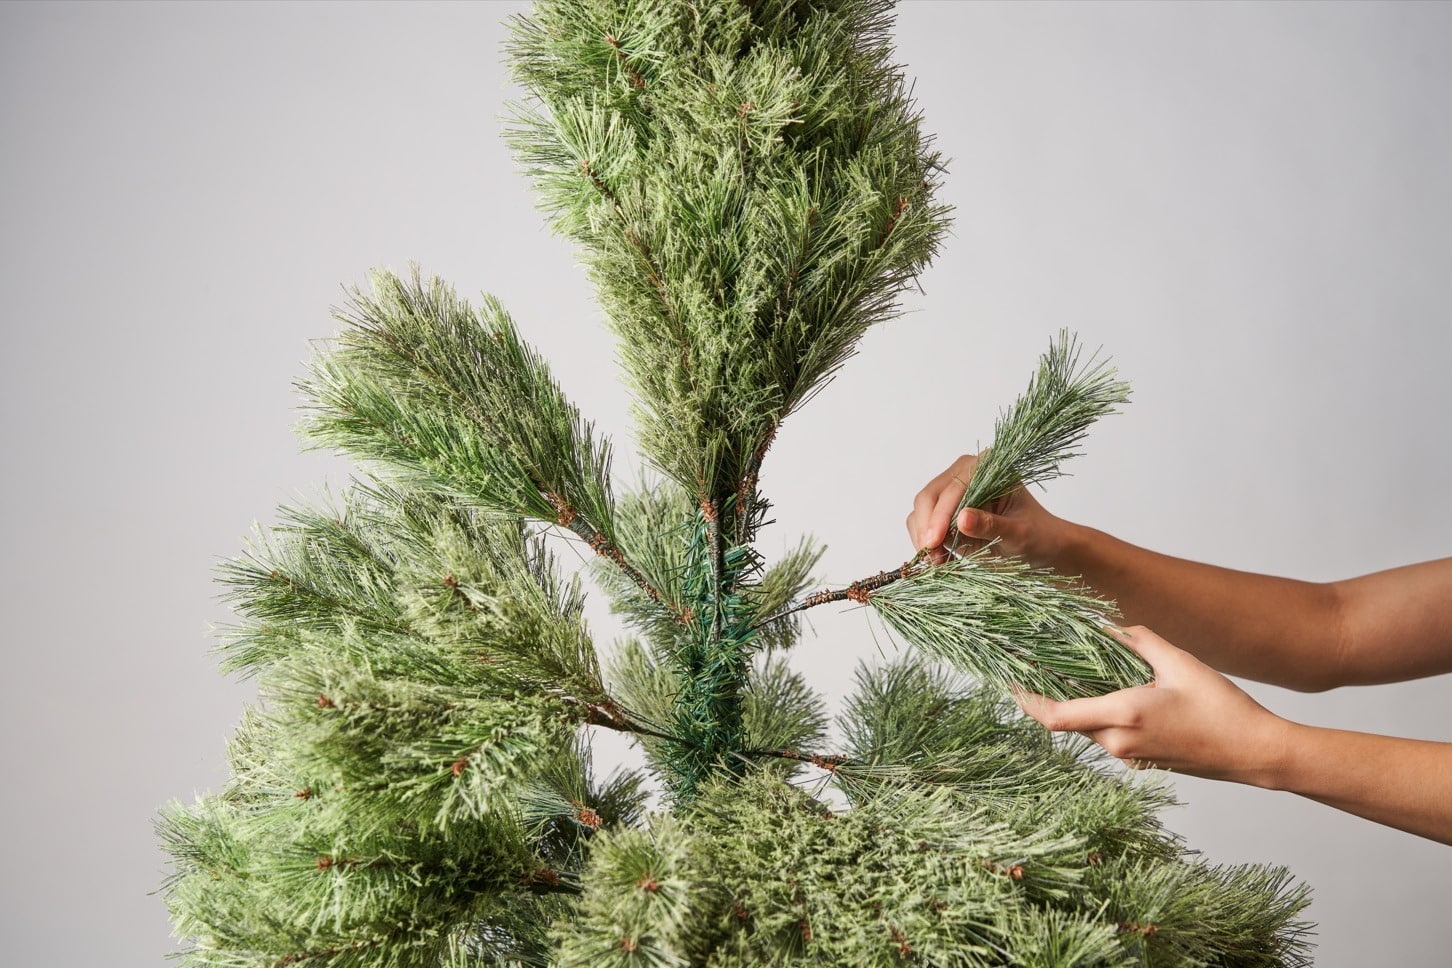
Step 6: Fluff Your Tree
-
Begin at the bottom and work your way up.
-
Fluff your tree by gently opening each of the small branches.
-
Shape the branches to fill gaps and give your tree a full, natural look like a real Christmas tree.
All Done!
Your tree is set up and looking fantastic. Now comes the fun part: decorating! Add your favourite baubles, lights, and ribbons your Christmas tree bring it to life.
Want some inspiration? Check out:
- How to Decorate Your Christmas Tree
- The Ultimate Guide to Tree Decorating
- How to Style a Flocked Christmas Tree