How to Decorate a Christmas Tree
Step 1: Plan the theme and lay out your decorations
Lay out your baubles, ribbon, topper, picks and lights so you can see their sizes and colours. Choose a main colour and one or two accents, then group matching pieces ready to spread across the tree. A festive playlist is optional. Check whether your collar must fit around the stand before assembly.
Step 2: Assemble the tree and shape the branches
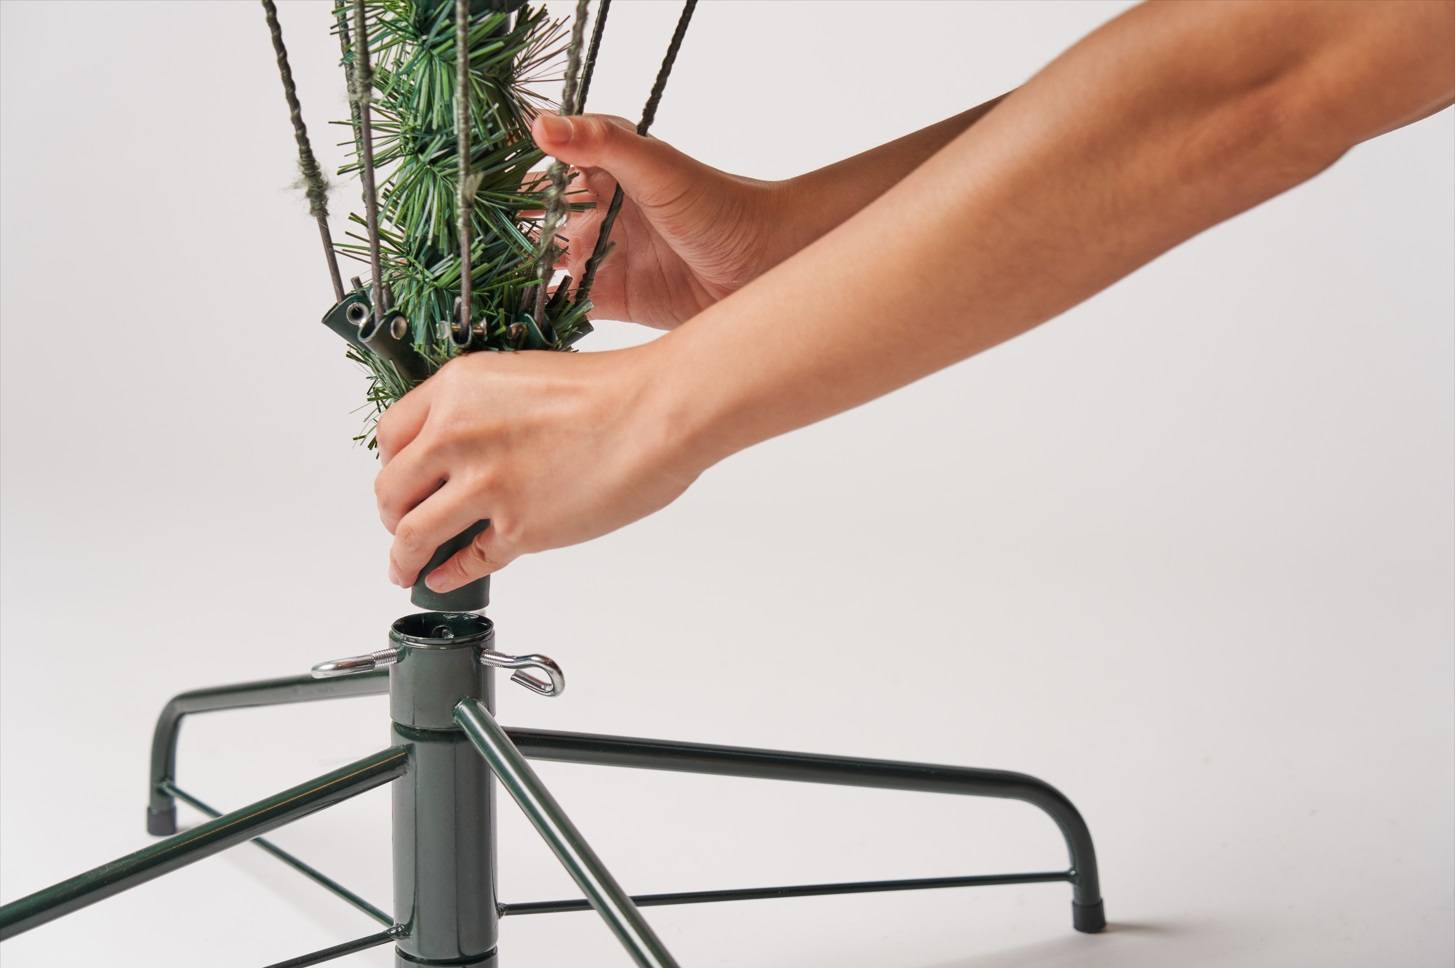
Assemble and shape the Christmas tree following your model’s instructions. Secure the stand and sections, then separate the branch tips a section at a time. Keep any Pre-Lit wiring clear while shaping.
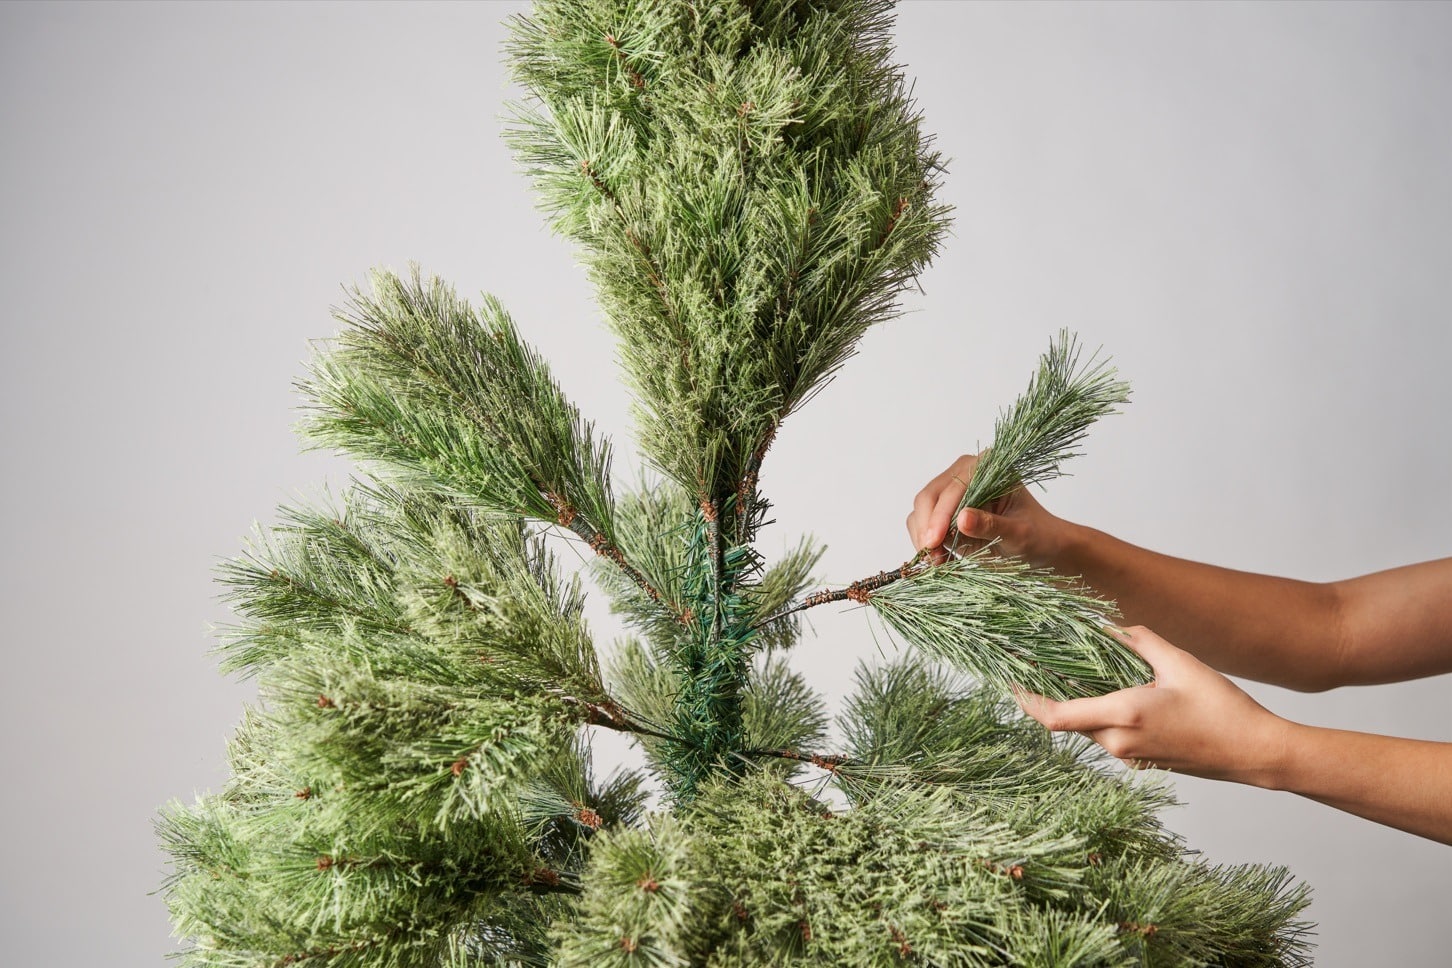
Shape the top to follow your tree’s intended silhouette. This top-section demonstration shows one example; branch angles vary by model. Spread the smaller tips in different directions rather than pulling every tip flat.
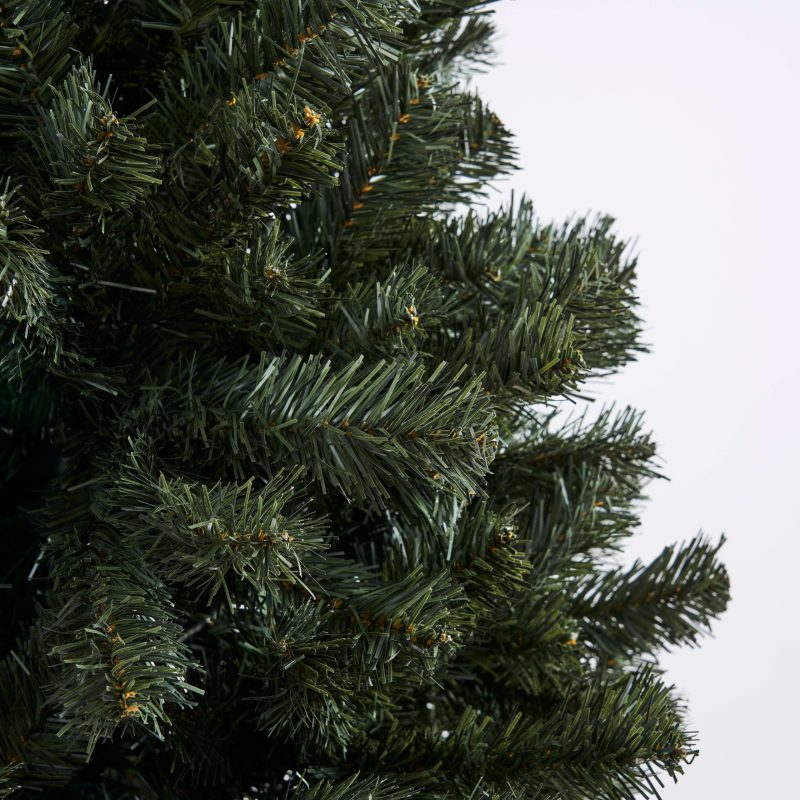
Check the shaped branches from several angles before decorating. Work from the inner branches outwards and adjust any clumped tips. If you can see the trunk, revisit the shaping before trying to cover the gap with extra ornaments.
Step 3: Add your tree topper
Position your tree topper while the upper branches are easy to reach. Check its attachment instructions, weight and ceiling clearance. If it is lit, plan its cable route before filling the top with decorations.
Choose a star, angel or other topper that the top section can support. Secure it using the method recommended for that topper; do not rely on a thin branch tip or fasten it to lighting wires.
For a star-shaped option, see the Alpi Star Tree Topper. Check its listed dimensions and attachment method against your tree’s top section before choosing it.
Step 4: String tree lights
Add your Christmas tree lights before you start hanging the other ornaments. Choose warm white, cold white, or coloured lights.
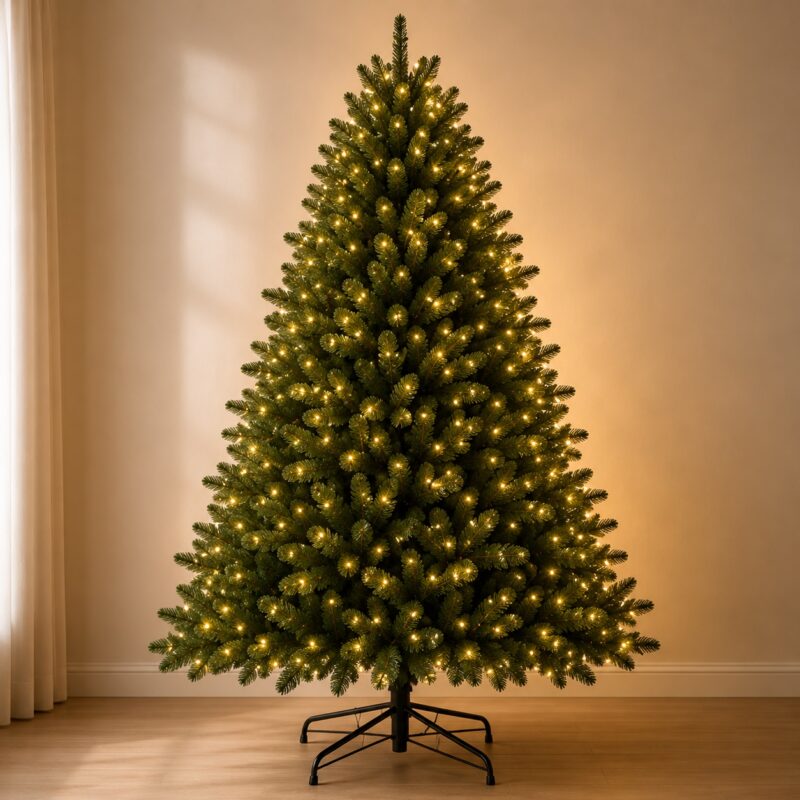
For a Standard tree, arrange the lights before ribbon and baubles so their cables are easier to position. Plan the route to the socket, test the lights as directed, and switch them off before adjusting them. For a Pre-Lit tree, connect and check the built-in lighting according to the tree’s instructions.
Only connect string-light sets when the specific product permits it. Check compatibility and the maximum connected length or number of sets; matching connectors alone do not establish compatibility.
Spread the lights across the visible sides and between branch layers, keeping cables free of strain. Check the effect with the lights on, then switch them off before making adjustments. Follow the lighting instructions for connectors and power supplies rather than burying them under decorations.
Step 5: Add ribbon, then hang the base baubles
If you are using ribbon, arrange it before the baubles. Make loose loops or short sections, tuck the ends between branches and leave some foliage visible. Spread the ribbon across the tree without pulling branches out of shape.
Start with simple, solid-coloured baubles. Distribute the larger pieces across the visible sides, leaving gaps for accents. Place some ornaments a little deeper among the branches for depth, where they can hang securely without resting on lighting cables.
Step 6: Hang your accent baubles
Next, hang your accent baubles in between the simple ones. Your accent baubles might be a different colour, shape, or texture. These will add interest and dimension to your tree’s decor.
Step 7: Decorative tree sprays
Christmas tree sprays are larger tree picks that tuck into the tree. These may be festive ribbons, clusters of berries, showstopping festive flowers such as Poinsettias and Magnolias, or long branches of pine cones, and foil leaves, for example. Weave in a few tree sprays to bare spots, and add extra character and flair to your Christmas tree’s appearance.
Step 8: Tree picks for detail
Smaller tree picks including flowers, berries, butterflies, and even gingerbread men, add interest and contrast with larger decorations.
Step 9: Add a tree skirt or collar
Finish the base with a tree skirt or collar. A wraparound or opening collar may be fitted at this stage; a one-piece collar may need to go around the stand before you assemble the tree. Check its construction and dimensions first, and keep power supplies accessible as directed.
A tree collar is made of sturdy material and stands upright to give the illusion that the tree is placed in a basket.
A tree skirt is a traditional fabric option that drapes over the base with extra space to place Christmas gifts on top. To add a tree skirt, simply lay it flat underneath the tree, wrapping it around the stand, and tie it at the back.
Step 10: Check the balance and finish
Step back and view the tree from the doorway and seating area. Move a few pieces if one colour is clustered together, a large ornament is pulling a branch down, or an empty patch draws your eye. For a tree against a wall, focus the decorative detail on the visible sides while keeping the stand stable and the branches shaped throughout.
How to fix gaps and an unbalanced tree
Before adding more ornaments, identify what looks unfinished from the doorway or your usual seat. A gap in the branches needs a different adjustment from an uneven colour pattern. Change one area, step back, and compare it with the rest of the tree.
The centre looks bare
If you can see straight through to the trunk, first check for branch tips that are still pressed together. Return to the shaping demonstration in Step 2 and separate those tips before adding decorations. If the branches are shaped but the display still looks flat, move a few suitable baubles slightly inward instead of hanging every piece at the outer edge. Keep them supported by the branch, clear of lighting cables.
One colour or one side looks too busy
Move a few matching ornaments from the crowded area into quieter areas at different heights. Check the balance from both the entrance and the seating area: a tree that looks even straight on may appear crowded from the side. For a corner display, spread your favourite accents across the visible front and sides rather than concentrating them in a narrow strip facing the room.
The lights look patchy
Check whether an ornament or a dense ribbon loop is hiding the light. If the lighting works but its arrangement looks uneven, switch it off before repositioning decorations or adjusting a separate light string. For built-in lighting that is not working, follow the tree’s instructions instead of treating it as a decorating gap. The lighting demonstration in Step 4 shows the arrangement stage before ornaments are added.
The topper leans or feels crowded
Remove the topper and check its fit and attachment instructions before trying again; extra decorations will not correct a poor fit. Revisit the Alpi and Stella demonstration in Step 3 if you are using those toppers. If a correctly fitted topper still crowds the ceiling or overwhelms the top section, choose a smaller or lighter option suitable for the tree. Do not bend the tree into an awkward shape just to keep a particular topper.
Choose a coordinated set of decorations
Prefer a coordinated set of decorations? Browse our Premium Bundles and check the contents of your chosen theme. The base offer is for decorations only; a Christmas tree is optional and priced separately. Assembly and decorating are not included automatically: check any separate service’s scope, availability and price before booking. For a different starting point, compare the listed contents of our Starter Kits.
Shop Premium Bundles